Remember when Microsoft was the bad guy and Apple was the underdog? Funny how a brilliant idea can change everything. With the raging success of the iPhone, the iPod line of products and iTunes, you'll now find almost as many people ranting about Apple as about Microsoft. Where one person sees the coolest combination to hit electronics since TiVo met the TV, another sees plans for world domination. And it's all about one word: control.
In this article, we'll see what makes iTunes the most popular jukebox software in the world, review some of its more advanced functions, explore the integrated iTunes Store and find out why the whole setup has inspired some lawsuits and epic hacking wars. First, let's cover the basics.
Advertisement
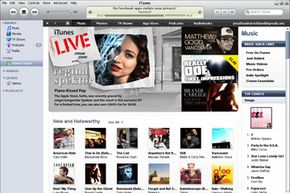
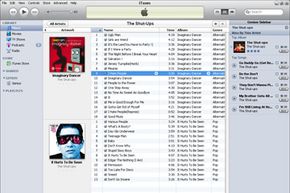
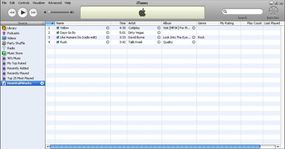
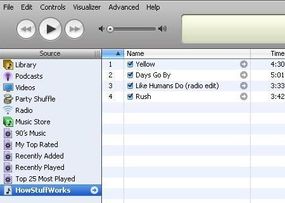
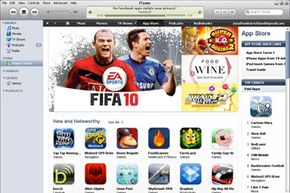
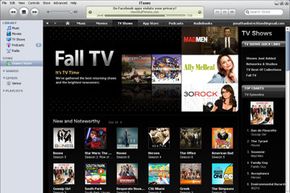
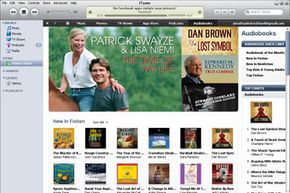
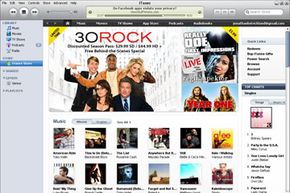
iTunes is a piece of software that lets you add to, organize and play your digital media collection on your computer, as well as sync it to a portable device. It's a jukebox player along the lines of Songbird and Windows Media Player, and you can use it on a Mac or Windows machine. The most significant difference between iTunes and some other media players is the built-in iTunes Store (where you can get podcasts; iPhone, iPad and iPod touch apps; music videos; movies; audiobooks and TV shows, too) and its multi-level integration with Apple's iPhone and its iPod portable media player.
But a portable media player isn't the only way to enjoy iTunes content. There's your Mac OS X or Windows computer, first off -- if you've got a sound card and a set of speakers (and you probably do), that's all you need to use iTunes. There's also Apple's popular entry into the smartphone market, the iPhone. Or you can play your iTunes library with one of the few phones Apple authorized to access the service, such as the Motorola ROKR E1 phone. Some enterprising hackers have created apps that let you synchronize non-Apple products with iTunes, but these aren't supported by Apple and may not work with every version of iTunes. Apple's wireless networking hub, AirPort Express, lets you wirelessly stream iTunes music from your computer to your hub-connected home-theater speakers. With this setup, you control playback via your computer, iPhone, iPad or iPod touch.
With another iTunes stream receiver, Roku's SoundBridge Network Music Player, you control everything through the SoundBridge remote control. So you're not limited to any single option when it comes to playback. But you may be limited by the type of player you have and the capabilities of your computer system. You may also have some difficulty tracking down one of these devices; Roku no longer sells the units [source: Roku]
Next, learn about iTunes compatibility with your computer and MP3 player.
Advertisement