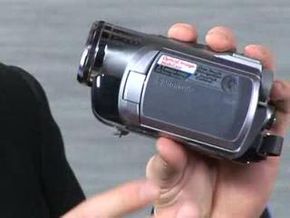
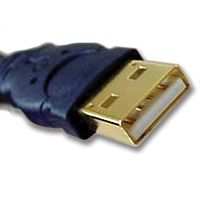
With today's technology, your friends and family can share in your special events and festivities, even if they're not there. Uploading video from your camcorder onto your computer can take just seconds and your friends on the other side of the world can be watching the video within minutes. All you need is a camcorder, a USB cable (which usually comes with your camcorder) and a computer with Windows XP [source: Deskshare]. Read the steps listed below and learn about how to upload videos from your camcorder to your computer.
- Attach your camcorder to your computer. This is done by connecting the USB cable to the appropriate ports in the camcorder and the computer. Depending on your computer, the port will be either in the back or the front of the system unit. Once you have connected the camcorder to the computer, turn the camcorder on. If you have misplaced your USB cable, you can still upload videos from your camcorder to your computer. Simply take the memory card out of your camcorder and insert it into the memory card reader in your computer. The memory card holds your camcorder's data and can transfer the information onto your computer [source: Microsoft].
- Start Windows Video Maker on your computer. There will be a window pane entitled Movie Tasks on the right side of the screen. Select Capture from video device, located under Capture Video. A new window will pop up entitled Video Capture Wizard. Click on your camcorder and then click on Next.
- Enter a name and location for your video, when prompted.
- Click Next. A window will appear entitled Video Setting.
- Click Next to accept the default settings.
- Upload the whole video by clicking on Finish or edit clips to send your friends and family [source: Microsoft].
Advertisement


