How to Use a Ring Light (Even If You're Not an Influencer)

By: Talon Homer  | 
woman recording podcast and video.
Ring lights can help anyone look better on camera. Ideally your device should be in the center of your ring light. Alistair Berg/Getty Images

When hopping onto video conferences or shooting vlogs, lighting is one of the most important factors for improving image quality. A camera requires plenty of light to produce a bright image without noise artifacts. This is especially true for smaller image sensors like those found in phones and webcams. Household overhead lights may not be bright enough, introducing color shifts and casting harsh, downward shadows that can be unflattering.

The best possible solution would be to get multiple studio lights with stands and softboxes, but these are costly and time-consuming to set up. The ring light presents a cheap and simple alternative, which can give you professional-looking lighting in a matter of seconds.

Advertisement

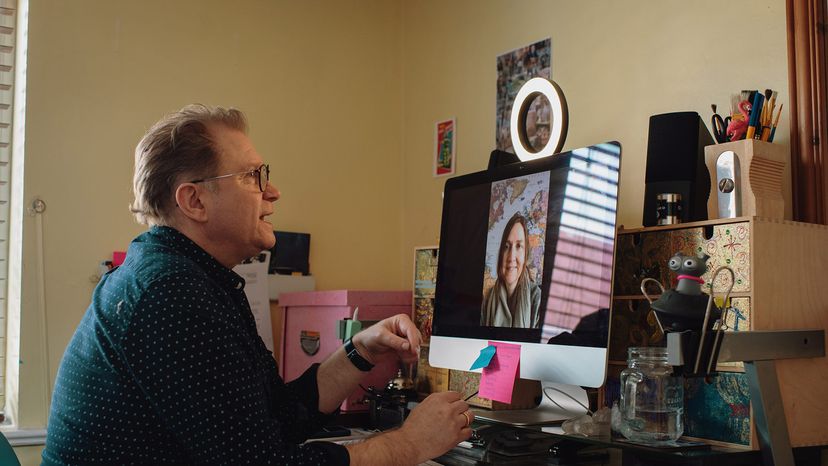
A ring light is a circle of LED lights that are placed right around the camera's lens and point directly at the subject. Since the light comes from all directions, it casts almost no shadow on the face and gives you a soft, pleasant look. This makes it easy to film with only one light source.

Selecting a Ring Light

When selecting a ring light, there are a few features you'll want to keep in mind. Most lights will have adjustable brightness. In addition, some have selectable color temperature and RGB custom color. Be sure to pick a light that has enough space to fit around your camera's lens, whether it's a phone, webcam or DSLR. Some lights come with an integrated tripod to easily mount the camera in the center, while others have clips to attach to your existing setup.

Prices can vary from under $20 to over $100, depending on the features included.

Advertisement

How to Position Your Ring Light

video call, laptop
If you're on a video call on a laptop, clip the ring light to the top of the computer. Sarah Mason/Getty Images

Once you've purchased a ring light, it's time to experiment with brightness and positioning. If you're using a smartphone or digital camera, place the device in the center of the ring light (it usually comes with a tripod for this purpose, but you can prop it on something like a stack of books.)

If you're using it with a laptop computer (say for a Zoom call), try to place the light at the upper edge of the computer screen to illuminate your face.

Advertisement

You'll want to select a fairly high brightness to eliminate image noise. However, too much can actually cause "highlight clipping." This is undesirable and creates pure white artifacts on your subject. Pay close attention to your image — try cranking up the brightness to the point of clipping, and then backing it down a couple notches. If no clipping is present at the highest setting, then you should be fine leaving it there.

Since the rays that come off a ring light tend to drop off quickly, you'll want to position the light relatively close to you without being so near that you introduce highlight clipping. We recommend starting with the light placed about a foot (0.3 meters) away, and then trying slightly nearer and farther distances until you find one that you like. If possible, you may also want to angle the light slightly to combat glare.

Glare can also come into play if you're wearing glasses. In that case, move the ring light from the 12 o'clock position to a 10 or 2 o'clock position and angle the light higher. Experiment to see what is most flattering to your face.

Finally, give some thought to your background elements. If your body is right up against a wall, then it will cast a distracting shadow. Ideally, your background will be at least a few feet away from the subject.

Advertisement

Advertisement

Loading...